If you’re a PC gamer or content creator looking to level up your streaming game, the Elgato Stream Deck is a must-have tool to make your life easier. Pairing it with OBS Studio, the go-to software for streaming and recording, can transform your workflow from chaotic to clean. Whether you’re switching scenes, muting your mic, or triggering epic overlays, this guide will walk you through how to use Stream Deck with OBS like a pro. Let’s dive into the setup, tips, and tricks to dominate your streams with precision and flair.
Why Use Stream Deck with OBS?
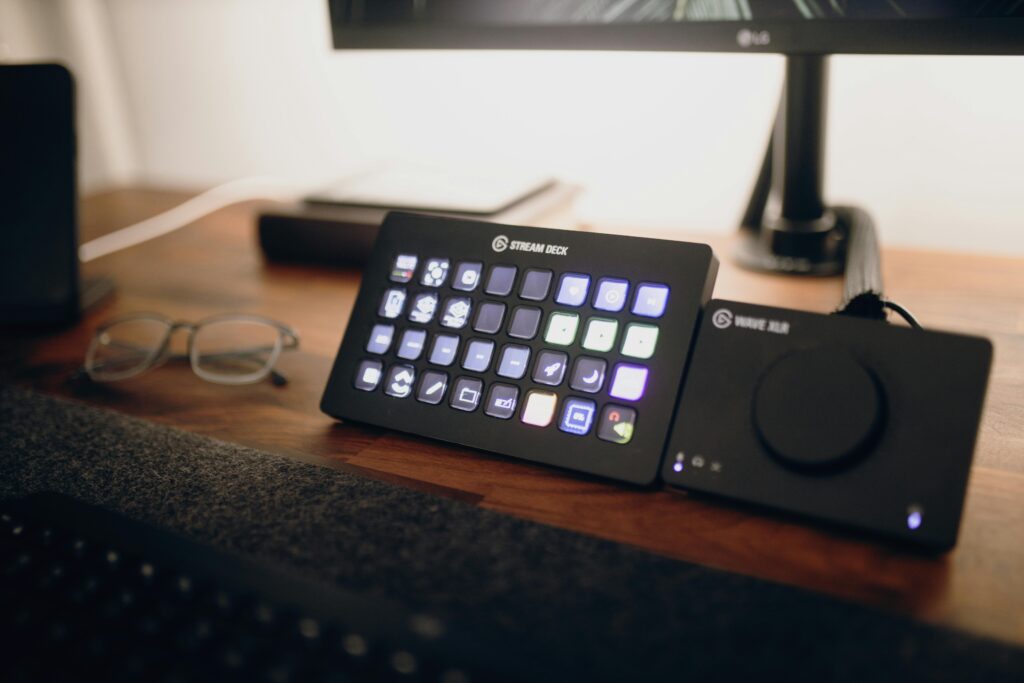
The Stream Deck is a customizable control pad with LCD buttons that let you execute commands with a single press. OBS Studio, meanwhile, is a powerhouse for streaming and recording, but juggling its controls during a heated gaming session can be a hassle. Combining the two means you can focus on fragging opponents or engaging your audience instead of fumbling with hotkeys or menus. From scene transitions to audio tweaks, the Stream Deck puts everything at your fingertips, making your streams look polished and professional.
Step-by-Step Guide to Setting Up Stream Deck with OBS
Before we get started, ensure you have a Stream Deck (we recommend the Elgato Stream Deck MK.2 for its balance of features and price) and OBS Studio installed on your PC. Ready? Let’s roll.
1. Install the Stream Deck Software
First, download the Stream Deck software from Elgato’s official website. It’s available for Windows and macOS. Run the installer, plug in your Stream Deck via USB, and open the app. The interface is sleek and intuitive, showing a virtual grid of your Stream Deck’s buttons. This is where the magic begins.
2. Install the OBS Studio Plugin
To make your Stream Deck talk to OBS, you need the official OBS Studio plugin. Here’s how to get it:
- Open the Stream Deck app and click the “Marketplace” icon (it looks like a grid with a plus sign) at the top.
- Search for “OBS Studio” and hit “Install” on the plugin.
- Ensure OBS Studio is updated to version 27.0 or newer, as older versions may cause compatibility issues.
- If the plugin doesn’t show up in OBS, check Elgato’s support page for manual installation instructions.
Once installed, the plugin will appear in the Stream Deck app’s right-hand menu under “OBS Studio.” You’re now ready to map actions to your Deck.
3. Connect OBS to Stream Deck
Launch OBS Studio and go to Tools > WebSocket Server Settings. Enable the WebSocket server (default port is 4455) and set a password if desired. In the Stream Deck app, select the OBS Studio plugin, enter the same port and password, and connect. You’ll see a confirmation that OBS is linked, and your Stream Deck is now in control.
4. Assign Actions to Stream Deck Buttons
This is where you customize your setup to match your streaming style. The OBS Studio plugin offers actions like switching scenes, toggling sources, muting audio, starting/stopping streams, and more. Here’s how to set up a button:
- In the Stream Deck app, drag an action (e.g., “Scene”) from the OBS Studio category to a button on the virtual grid.
- Click the button to configure it. For a “Scene” action, select the OBS scene you want to trigger (e.g., “Gameplay” or “BRB”).
- Add a custom title or icon to the button for easy recognition. You can upload your own images or grab free icons from the Stream Deck Marketplace.
- Test the button by pressing it on your Stream Deck. It should instantly switch to the chosen scene in OBS.
Repeat this process for other actions like muting your mic, starting a stream, or toggling your webcam. Pro tip: Organize related actions into folders by dragging the “Create Folder” action to a button, then adding sub-actions inside.
5. Create Multi-Actions for Next-Level Control
Want to go full pro? Use the Stream Deck’s Multi-Action feature to combine multiple commands into one button press. For example, you can create a “Go Live” button that:
- Switches to your intro scene in OBS.
- Starts streaming.
- Tweets “I’m live!” via the Twitter plugin.
- Turns on your Philips Hue lights for that RGB glow.
To set this up, drag the “Multi Action” option from the Stream Deck category to a button, then add the desired actions in sequence. This is a game-changer for streamlining your workflow.
6. Test and Tweak Your Setup
Before going live, test every button to ensure it works as expected. Stream to a private channel or record a test clip to check scene transitions, audio levels, and source visibility. If something’s off, double-check your OBS settings or reconnect the Stream Deck plugin. Tweak icons and layouts until your Deck feels like an extension of your gaming rig.
Advanced Tips for Stream Deck and OBS Mastery
Now that you’ve got the basics down, here are some advanced tips to make your streams pop:
- Dynamic Profiles: Create separate Stream Deck profiles for different games or stream types (e.g., FPS, RPG, or Just Chatting). Switch profiles manually or set them to auto-activate when you launch specific apps.
- Real-Time Feedback: The OBS Studio plugin supports real-time status displays, so your buttons update visually when a source is active or muted. Enable this in the plugin settings for instant feedback.
- Stream Counter Plugin: Track in-game stats like kills or deaths by using the Stream Counter plugin. It outputs numbers to a text file that OBS can display as an overlay.
- Hotkey Fallbacks: If your Stream Deck ever disconnects, set up keyboard hotkeys in OBS as a backup. Assign them via OBS’s Settings > Hotkeys menu.
- Audio Control: Use the Stream Deck to adjust audio levels on the fly. Map “Audio Mixer” actions to buttons or, if you have a Stream Deck+, use its dials for precise control.
Common Issues and Fixes
Even the best setups hit snags. Here are quick fixes for common Stream Deck and OBS issues:
- Stream Deck Not Connecting to OBS: Ensure the WebSocket server is enabled in OBS and the port/password match in the Stream Deck app. Restart both apps if needed.
- Plugin Not Loading: Update OBS to the latest version and reinstall the OBS Studio plugin from the Marketplace. If errors persist, check Elgato’s forums for specific error codes.
- Laggy Button Response: Close unnecessary apps to free up CPU resources. In OBS, lower your encoder settings (e.g., switch to NVENC if you have an NVIDIA GPU) to reduce system strain.
Why the Elgato Stream Deck MK.2 is Our Top Pick
For most streamers, the Elgato Stream Deck MK.2 strikes the perfect balance. It’s 15 customizable buttons offer plenty of real estate for actions, and the updated stand and USB-C cable make it a sleek addition to your desk. While the Stream Deck+ adds dials and a touchscreen, the MK.2 is more affordable and covers all the essentials for OBS control. If you’re on a budget, the Stream Deck Mini (6 buttons) is a solid starter option, but the MK.2’s versatility makes it worth the investment.
Final Thoughts: Stream Like a Pro with Stream Deck and OBS
Pairing a Stream Deck with OBS Studio is like adding a co-pilot to your streaming setup. With a few button presses, you can manage scenes, audio, and more without breaking your flow. Whether you’re a casual streamer or aiming for Twitch stardom, this combo will save you time and make your broadcasts look slick. Follow this guide, experiment with your setup, and you’ll be pulling off seamless streams that keep your audience hooked.
Ready to take control? Grab the Elgato Stream Deck MK.2 and start building your ultimate streaming rig today. Got questions or killer Stream Deck tips? Drop them in the comments below, and let’s geek out together!
Note: This post contains affiliate links. As an Amazon Associate, we earn from qualifying purchases, which helps keep our content free for you.
Pingback: Elgato Stream Deck MK.2 Review: A Streamer’s Secret Weapon
Pingback: How to Optimize OBS Studio for Low-End PCs
Pingback: How to Get the Chat Box Back on OBS: A Gamer’s Guide
Thanks, I’ve just been searching for info approximately this topic for a while and yours is the best I have found out till now. However, what about the bottom line? Are you positive in regards to the source?