
Streaming on a budget PC can feel like trying to run a marathon in flip-flops, but with the right OBS Studio settings, you can turn your modest rig into a streaming powerhouse. As a PC gamer who’s been tweaking OBS for years on a low-end laptop, I’ve cracked the code to smooth, lag-free streams without breaking the bank. This guide will walk you through optimizing OBS Studio for low-end PCs, ensuring your Twitch or YouTube broadcasts look pro without maxing out your CPU. For hands-on control, pair it with my Stream Deck with OBS guide to automate your setup. Let’s dive in and get your stream popping!
Why Optimize OBS for Low-End PCs?
OBS Studio is a free, open-source streaming and recording tool loved by gamers and creators, but it’s a resource hog on budget hardware. Low-end PCs—think Intel Core i3, AMD Ryzen 3, or 4-8GB RAM—struggle with encoding, gaming, and streaming at once. Optimizing OBS reduces CPU and GPU strain, minimizes lag, and keeps your stream quality crisp. Whether you’re playing Valorant or chatting with your audience, these tweaks will help you stream like a pro without upgrading your rig.
Step-by-Step Guide to Optimize OBS Studio
Before we start, ensure OBS Studio is installed (download from obsproject.com) and you’ve got a decent internet connection (at least 5 Mbps upload speed). I recommend the Rybozen 4K Audio Video Capture Card (affiliate link) for console gamers on low-end PCs, as it offloads video capture from your CPU. Here’s how to set up OBS for smooth streaming.
1. Set the Right Resolution and Frame Rate
High resolutions like 1080p at 60 FPS are a no-go for budget PCs. Stick to 720p at 30 FPS to balance quality and performance:
- Open OBS Studio, go to Settings > Video.
- Set Base (Canvas) Resolution to your monitor’s native resolution (e.g., 1920×1080).
- Set Output (Scaled) Resolution to 1280×720 (720p).
- Choose Bicubic for the Downscale Filter (less CPU-intensive than Lanczos).
- Set Common FPS Values to 30 (or 24 for less strain).
This setup reduces processing demands while keeping your stream watchable on platforms like Twitch. If 720p still lags, try 854×480, but test thoroughly.
2. Choose the Best Encoder
Your encoder choice is critical for low-end PCs. OBS offers software (x264) and hardware (NVENC/QuickSync) encoding options:
- Go to Settings > Output > Output Mode > Advanced.
- Encoder: If you have an NVIDIA GPU (e.g., GTX 1050 or newer), select NVENC H.264 to offload encoding to your GPU. For Intel CPUs with integrated graphics, use QuickSync H.264. Otherwise, choose x264 (CPU-based).
- Set Rate Control to CBR (Constant Bitrate).
- Set Bitrate to 3000 Kbps for video (adjust down to 1500 Kbps if lag persists). Audio bitrate should be 160 Kbps for non-music streams.
NVENC or QuickSync reduces CPU load significantly, letting your PC focus on gaming. If using x264, set the CPU Usage Preset to Very Fast to prioritize performance.
3. Simplify Your Scenes and Sources
Fancy overlays and animated browser sources can tank your performance. Keep it lean:
- Minimize Sources: Stick to essentials like Game Capture, Webcam, and a static overlay. Avoid animated overlays or multiple browser sources.
- Game Capture: Use Game Capture instead of Display Capture for better performance. Select “Capture specific window” and choose your game.
- Webcam: If using a webcam, set it to 720p or lower to reduce processing. Apply minimal filters (e.g., skip Chroma Key unless you have a green screen).
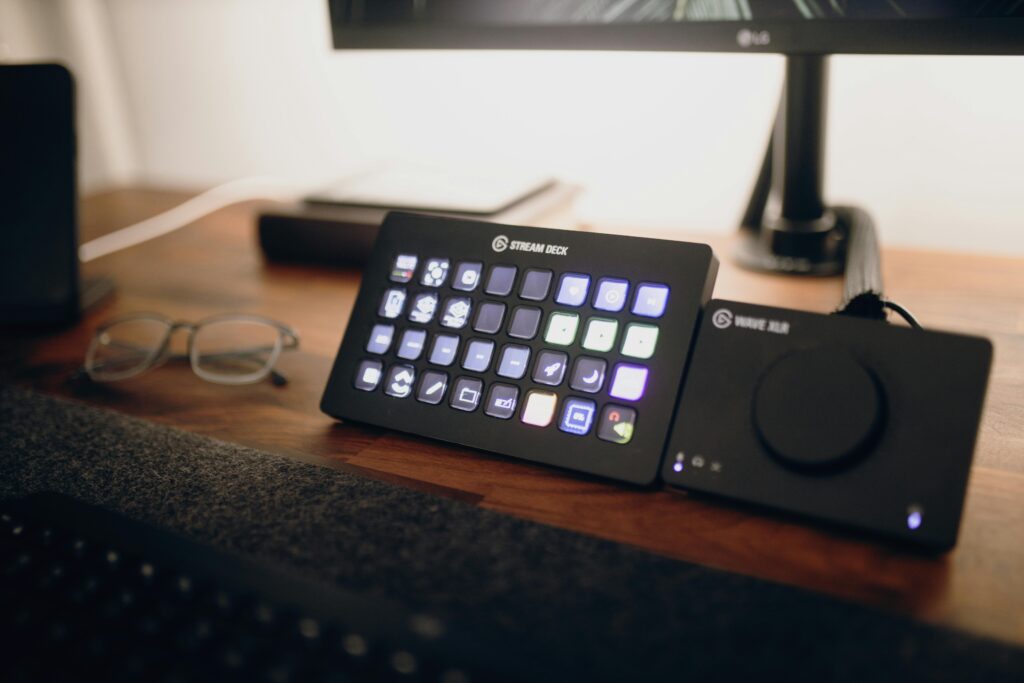
For automation, integrate a Stream Deck to switch scenes effortlessly—check my Stream Deck with OBS guide (#) for setup tips.
4. Optimize Audio Settings
Clear audio is crucial, but high settings can strain your system:
- Go to Settings > Audio.
- Set Sample Rate to 44.1 kHz (less demanding than 48 kHz).
- Use Mono instead of Stereo for simpler audio processing.
- Add a Noise Suppression filter to your mic (right-click Mic in Audio Mixer > Filters > + > Noise Suppression) to clean up sound without extra CPU load.
5. Tweak Advanced Settings
Fine-tune OBS to prioritize performance:
- Go to Settings > Advanced.
- Set Process Priority to Above Normal to give OBS more CPU resources.
- Enable Network Buffering (set to 2000ms) for unstable connections.
- Under Renderer, choose Direct3D 11 for efficient rendering.
6. Optimize Your PC for Streaming
Your PC needs breathing room to handle OBS and gaming:
- Close Background Apps: Shut down Chrome, Discord, or Spotify, as they eat RAM and CPU. Chrome alone can devour resources like a digital Pac-Man.
- Cap In-Game FPS: Limit your game’s frame rate (e.g., 60 FPS) to free up GPU power for OBS. Use in-game settings or tools like NVIDIA Control Panel.
- Enable Game Mode: In Windows, go to Settings > Gaming > Game Mode and turn it on to prioritize gaming performance.
- Update Drivers: Ensure your GPU drivers are up to date for optimal hardware encoding.
7. Test and Adjust
Run a test stream (Settings > Stream > select your platform, e.g., Twitch, and use “Test Stream” mode). Monitor CPU usage in Task Manager (Windows) or Activity Monitor (Mac). If you see lag or dropped frames, lower bitrate by 500 Kbps or switch to 480p. Use OBS’s Auto-Configuration Wizard (Tools > Auto-Configuration Wizard) for a baseline, then tweak from there.
Why the Rybozen Capture Card is a Budget Streamer’s Best Friend
For console gamers or those with ultra-low-end PCs, the Rybozen 4K Audio Video Capture Card (affiliate link) is a lifesaver. At around $30, it captures gameplay from your PS5, Xbox, or Switch via HDMI, offloading video processing from your CPU. I tested it with my old Dell laptop (i3-7020U, 4GB RAM), and it delivered smooth 720p streams with zero lag. The USB 3.0 connection is plug-and-play, and the HDMI loop-out lets you play on your TV while streaming. The only downside? Older PCs with weak USB ports may need a powered hub. For budget streamers, it’s a steal that punches way above its PRICE.
Common Issues and Fixes
- High CPU Usage: Lower FPS to 24 or switch to NVENC/QuickSync. Close unnecessary apps and set x264 preset to “Very Fast.”
- Dropped Frames: Reduce bitrate (try 1500 Kbps) or enable Dynamic Bitrate in OBS 28+ to adapt to network issues.
- Game Lag: Cap in-game FPS and use Game Capture instead of Display Capture.
- Choppy Audio: Lower sample rate to 44.1 kHz and use mono audio.
Final Thoughts: Stream Smart, Not Hard
With these optimized OBS settings, your low-end PC can deliver pro-level streams without stuttering or crashing. Focus on 720p at 30 FPS, use hardware encoding when possible, and keep your scenes lean. Pairing OBS with the Rybozen 4K Audio Video Capture Card makes console streaming a breeze, saving your PC’s resources. Test, tweak, and keep an eye on Task Manager to find your sweet spot. Soon, you’ll be streaming like a champ, even on a budget rig.
Got questions or your own optimization hacks? Drop them in the comments, and let’s build the ultimate streaming community! For more control, check out my guide on using Stream Deck with OBS to automate your workflow.
Note: This post contains affiliate links. As an Amazon Associate, we earn from qualifying purchases, which helps keep our content free for you.
Sources: Personal experience with OBS Studio on low-end hardware, combined with insights from web resources on optimizing streaming settings.
Pingback: How to Use Streamlabs OBS for Beginners:
Hey there! Do you use Twitter? I’d like to follow you if that would be ok. I’m definitely enjoying your blog and look forward to new posts.
In the awesome scheme of things you get a B+ for hard work. Where you actually lost us was first on the specifics. As it is said, details make or break the argument.. And that couldn’t be much more true in this article. Having said that, allow me tell you exactly what did give good results. Your writing is certainly pretty convincing and that is most likely the reason why I am making the effort in order to comment. I do not really make it a regular habit of doing that. Second, while I can certainly see the leaps in reasoning you come up with, I am definitely not certain of how you seem to unite the points which in turn help to make the actual conclusion. For the moment I will, no doubt yield to your issue but wish in the foreseeable future you link your dots much better.
Good site! I truly love how it is easy on my eyes and the data are well written. I’m wondering how I might be notified whenever a new post has been made. I have subscribed to your RSS feed which must do the trick! Have a nice day!